
Little Lamb Lissette Part Two: Needle Sculpting the Lamb Features

1. Thread your English style # 7 darning needle with Nymo size D beading thread in a matching color. Condition your thread by running it against a thread conditioner or beeswax to keep the strands of the thread from separating and fraying. Use a single strand of thread and knot it on the end.
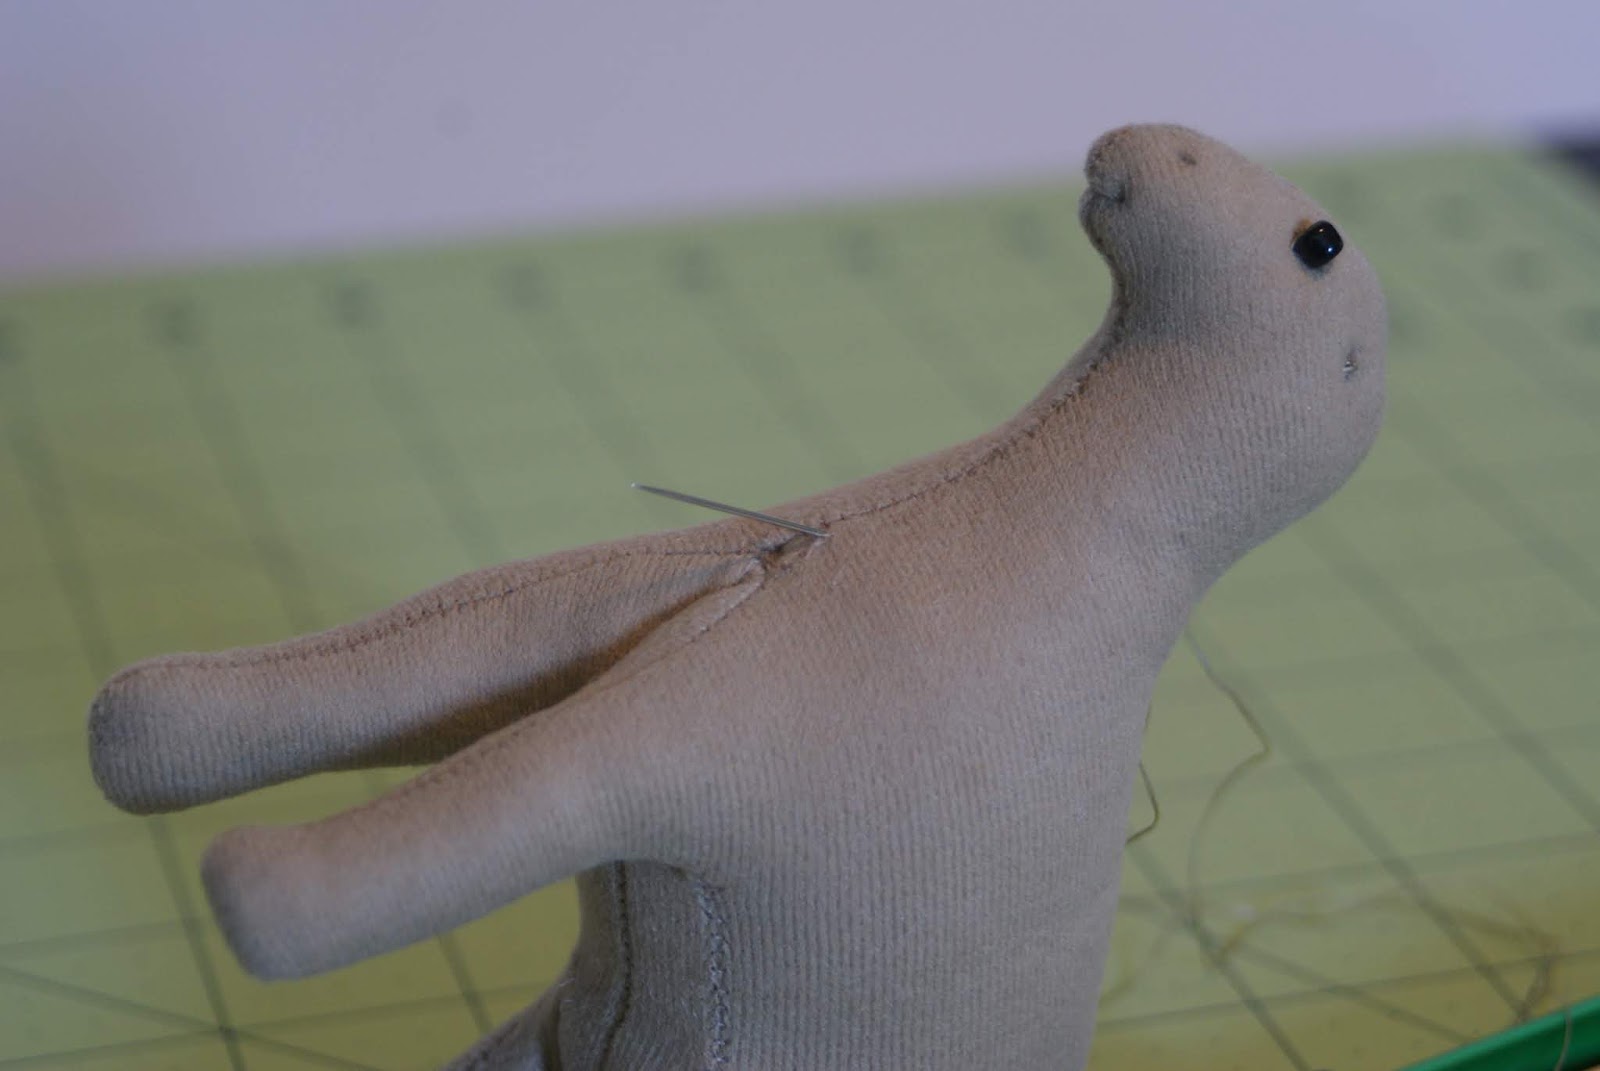
2. Bring the threaded needle into the rear opening and weave it in and out of seams until you reach one of the ears.


3. Once you reach one of the ears make a tacking stitch to secure the thread.

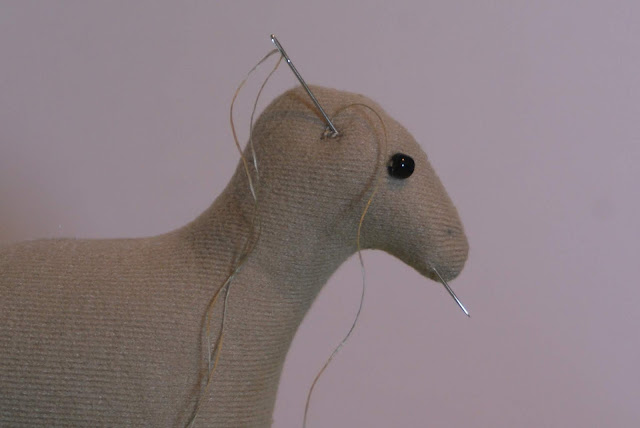
4. Bring the needle back into the ear and out of one corner of the eye on the same side of the head.

6. Take a stitch at the ear and bring the needle back out of one corner of the eye.

9. Make a tacking stitch at the ear to secure the thread.

12. After making a tacking stitch in the ear, bring the needle back into the ear and out of the nostril on the same side of the head.


15. Bring the needle back into the ear and out of the opposite ear.


18. Make a tacking stitch at the ear. Bring the needle back into the ear and out of the corner of the mouth on the same side of the head.


20. Keeping the thread tight to make an indentation at the mouth, make a tacking stitch at the ear.


22. Ladder stitch the opening closed.


24. Weave the thread through the seams to bring it back up and out of the ear. Make a tacking stitch at the ear to secure the thread.

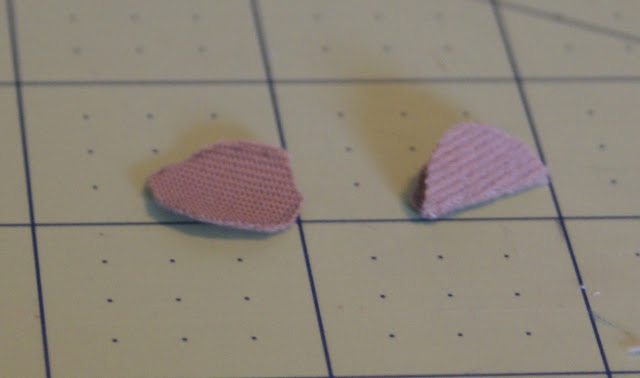
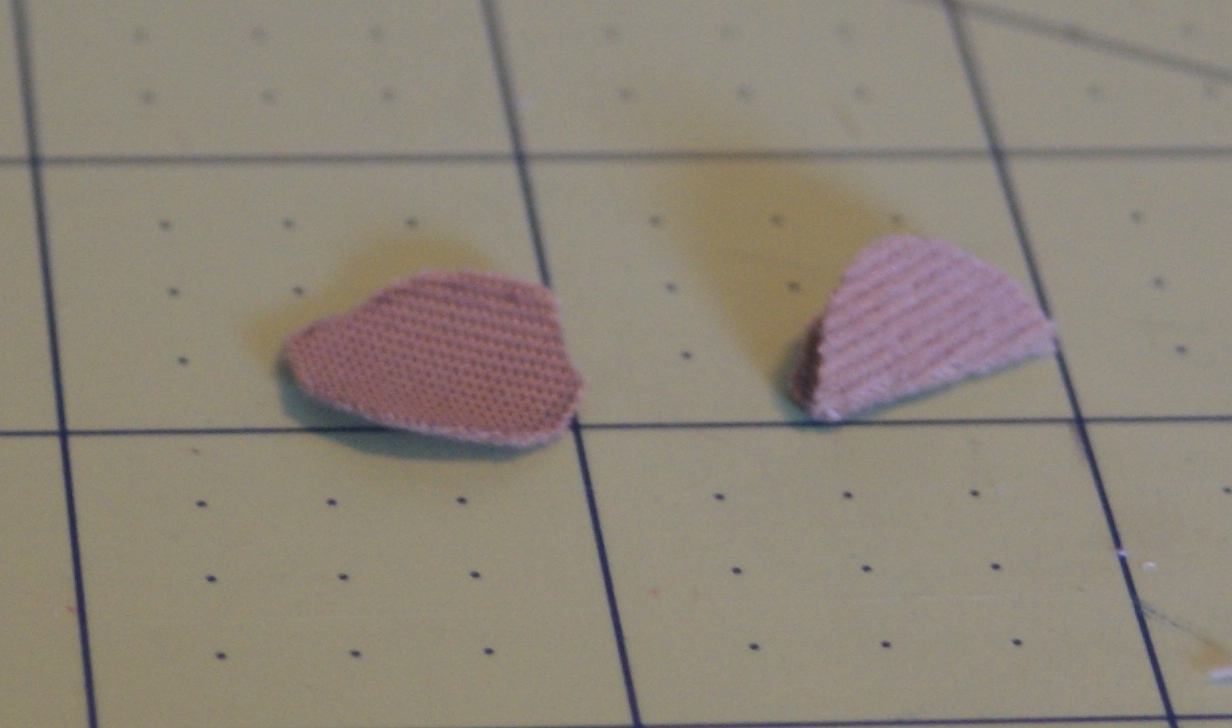
26. Fold each eyelid circle in half and pin in place over each bead eye.


28. After whip stitching the eyelid in place, stitch around the eyelid using the ladder stitch to neaten things up.
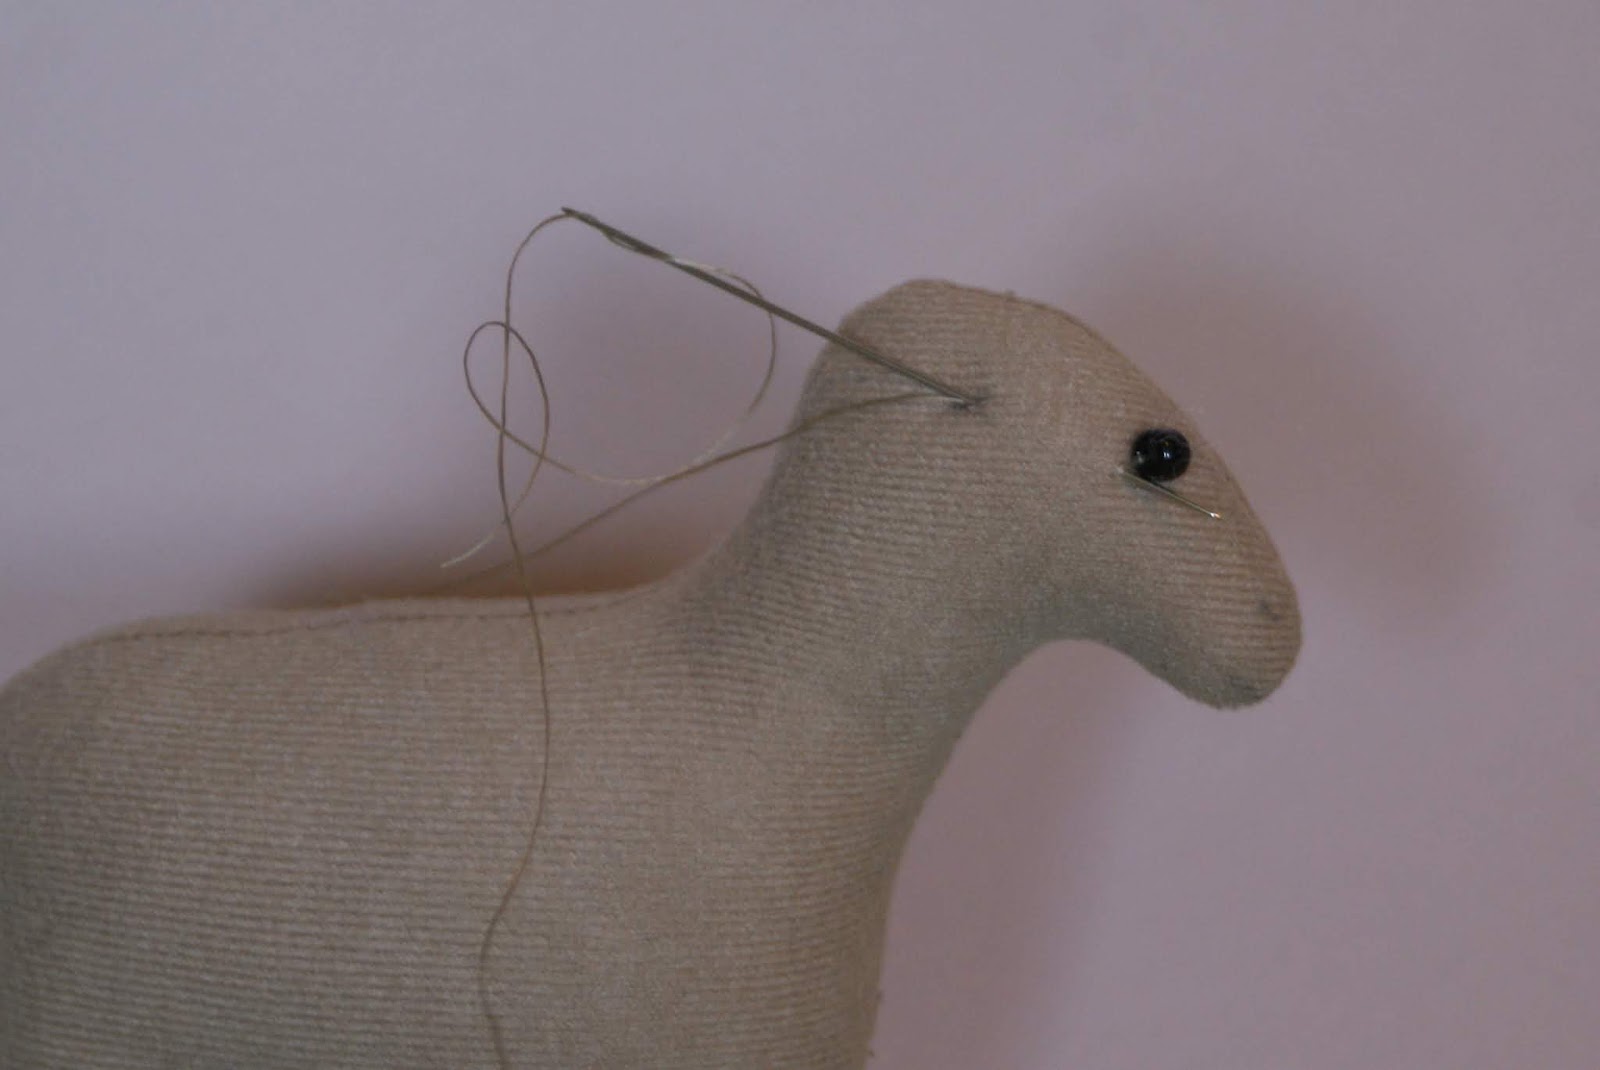
29. After ladder stitching all around the eyelid bring the needle to the ear area on that side of the head and make a tacking stitch.


30. Bring the needle back into the ear area and out of the opposite ear area.

31. Whipstitch around the second eyelid.


33. After completing the ladder stitch around the eyelid, bring the needle to the ear area on that side of the head and make a tacking stitch to secure the thread.
34. Fold the raw edges of the ears under. I find the easiest way to do this is to use curved hemostats. Make sure you fold the ears up to the same size.


37. After making the tacking stitch to hold the thread in place, bring the needle back into the ear area and out of the other ear area.


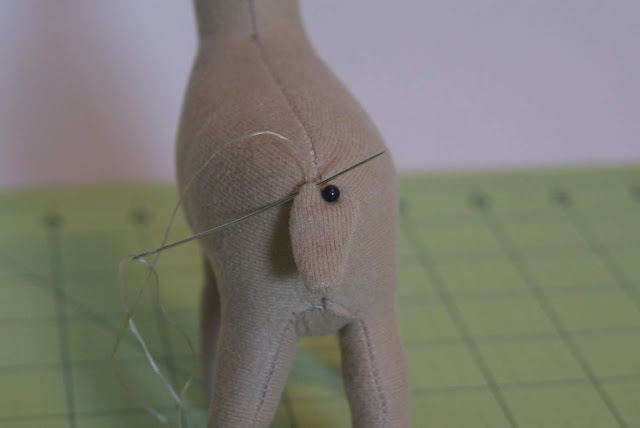
39. Make a tacking stitch at the back of the lamb. Then ladder stitch the opening closed.


42. Ladder stitch the tail on. When done with the ladder stitching, make a tacking stitch, then weave the thread through the seams of the lamb and cut off the thread.


43. Your lamb is now ready to needle felt the wool on.


No comments:
Post a Comment